

Learning how to read a hiking trail map is a fundamental skill that every outdoor enthusiast should master. Whether you're heading into a national park, exploring a forest preserve, or just going on a day hike, knowing how to interpret trail maps ensures a safer and more enjoyable experience. Without this skill, it's easy to take a wrong turn, miss key landmarks, or misjudge elevation gains. Fortunately, understanding a trail map is easier than you think, and with the right knowledge, you'll navigate like a pro in no time.
This guide from the National Park Shops will walk you through everything you need to know about how to read a hiking trail map, from identifying key features to real-time navigation tips. By the end, you'll be fully equipped to handle even the most complex trail systems with confidence and clarity.
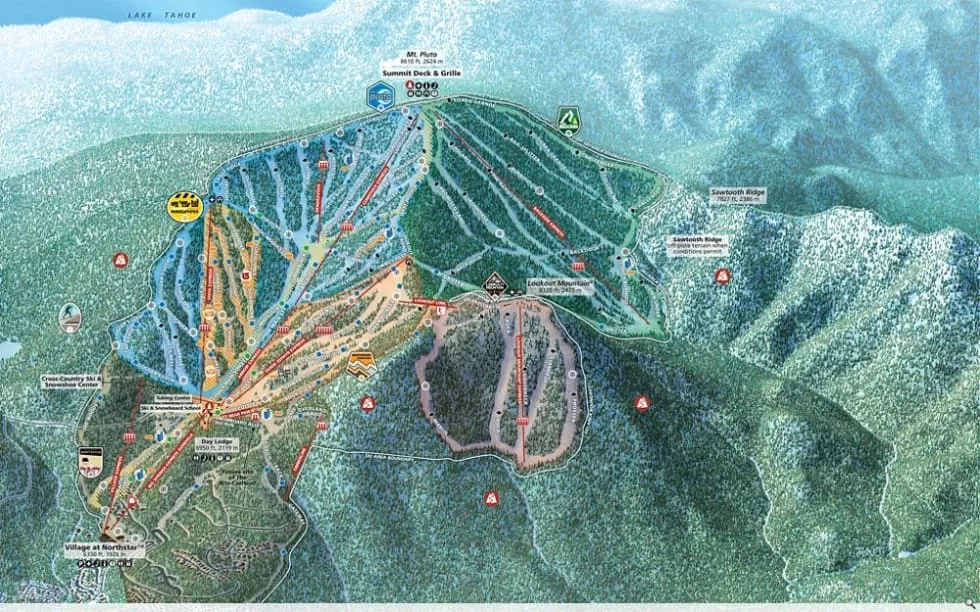
What's Trail Map Features?
To truly understand how to read a hiking trail map, it's important to become well-acquainted with the common features found on these maps. These features provide vital information that help you interpret your environment and make informed decisions during your hike.
Key elements typically include:
-
Trails: Often depicted as solid or dashed lines, sometimes color-coded to indicate difficulty.
-
Contour Lines: Represent elevation and the shape of the land. The closer they are together, the steeper the terrain.
-
Elevation Markers: Help you understand how high or low certain points on the trail are.
-
Trailheads: Mark the start or access points of a trail.
-
Water Sources: Rivers, streams, lakes, and springs are crucial for hydration and navigation.
-
Shelters and Campsites: Useful for planning rest points or overnight stays.
-
Scenic Points or Viewpoints: Highlighted for their natural beauty and photographic opportunities.
Each of these elements is represented by specific symbols or color schemes standardized across many hiking maps. Familiarizing yourself with these symbols is a core step in learning how to read a hiking trail map, as it enables quick visual recognition while on the move.
In addition, trail difficulty levels are often communicated through a color-coded system:
-
Green: Easy
-
Blue: Moderate
-
Black: Difficult
Understanding these difficulty markers ensures that you choose a trail suited to your fitness and experience level. Moreover, always take note of mileage indicators and trail junctions. These allow you to calculate estimated distances, determine your location, and adjust your route if necessary. Developing fluency in these visual cues is essential for mastering how to read a hiking trail map and enjoying a safe hiking experience.
>> Read More: 11 Benefits of Hiking for Health and More
How to read a hiking trail Map while on the Trail
Once you're on the trail, applying what you've learned about how to read a hiking trail map becomes even more critical. Navigation in real-time requires constant reference to your map and surroundings to ensure you're on the correct path. Each step outlined below will help you confidently use your trail map to navigate any terrain.
Step 1: Orient Your Map
The first thing to do when you're figuring out how to read a hiking trail map is to orient the map to the terrain around you. This means aligning the map so that north on the map matches north in the real world. You can do this using a compass or a GPS-enabled device. When your map is properly oriented, the landmarks and trails will line up with what you see around you.
This step is crucial because it eliminates confusion about direction and positioning. Understanding how to read a hiking trail map begins with orientation, allowing you to follow trails as they actually appear in front of you. The better your map orientation, the more accurately you can judge distances and directions on your hike.
Step 2: Find Your Location on the Map
After orienting your map, the next step in learning how to read a hiking trail map is to pinpoint your current location. You can do this by identifying nearby landmarks, trail junctions, or elevation markers that match your surroundings. Sometimes, GPS apps can help, but relying solely on technology isn't always reliable in the backcountry.
Being able to find your position is essential for planning your next steps and avoiding getting lost. Mastering how to read a hiking trail map means cross-referencing your environment with what the map displays, ensuring you're exactly where you think you are. If you're at a known landmark like a shelter or viewpoint, use it to confirm your position.
>> Read More: How To Read Hiking Trail Signs: Symbol Meanings
Step 3: Read the Contour Lines
One of the most overlooked aspects of learning how to read a hiking trail map is understanding contour lines, which are the thin, often brown lines that trace across topographic maps. These lines connect points of equal elevation and form patterns that allow hikers to visualize hills, valleys, ridgelines, and slopes before setting foot on the trail. The proximity of these lines to each other is crucial: closely spaced lines indicate a steep incline or decline, while lines spaced far apart suggest gentle slopes or relatively flat terrain.
To effectively interpret contour lines when learning how to read a hiking trail map, consider the following:
-
Concentric circles usually represent a peak or summit. The innermost circle is the highest point.
-
V-shaped lines that point uphill often indicate a valley or stream. When the "V" points downhill, it might represent a ridge.
-
Index contours are thicker lines that typically appear every fifth line and are labeled with elevation, helping you estimate height changes more precisely.
-
Saddle shapes, low points between two peaks, can be identified by two small hills with a dip between them.
Knowing how to read these variations helps you anticipate the physical demands ahead, such as long ascents or potentially dangerous descents. If contour lines cluster tightly together over a short horizontal distance, expect a demanding climb that may require more frequent breaks. As you grow more experienced in how to read a hiking trail map, you’ll be able to judge terrain difficulty at a glance, allowing for smarter route selection, better time estimation, and safer hiking experiences overall.

Step 4: Identify the Landscape Features
Landscape features such as rivers, ridges, valleys, and cliffs are often illustrated on trail maps. Part of learning how to read a hiking trail map is recognizing these natural elements and understanding how they relate to your trail. These features are not only useful for navigation but also for enjoying the scenery and staying oriented.
For instance, if you're heading toward a river crossing or a ridge hike, you should be able to locate these features on your map. This is especially useful in poor visibility conditions where physical markers are your best guide. Mastering how to read a hiking trail map means being able to spot these landmarks both on paper and in nature.
Useful Tips for learning How to read a hiking trail Map
The more consistently you practice, the easier it becomes to master how to read a hiking trail map. Begin with short, well-marked trails in local parks or nature reserves to build your foundational skills. These areas typically have clear signage and simple topography, making them ideal for beginners. Carry both a paper map and a compass at all times, even if you also use a GPS-enabled device. Digital tools can fail due to signal issues or battery depletion, so traditional navigation skills remain essential.
To build familiarity and confidence, incorporate the following tips into your hiking routine:
-
Study the map before setting out: Note trail distances, elevation profiles, junctions, and possible detours.
-
Mark important features: Highlight water sources, shelters, or scenic lookouts that can help with orientation.
-
Understand your route’s terrain: Pay attention to steep climbs, switchbacks, and flat stretches for energy management.
-
Pack accordingly: Adjust gear and water intake based on terrain difficulty and distance.
Preparation also means mentally walking through the hike before you start. Visualizing key segments of the route can improve real-time decision-making on the trail. This pre-planning mindset is a crucial part of fully understanding how to read a hiking trail map, especially in unfamiliar or backcountry areas.
During the hike, actively engage with the environment:
-
Pause regularly to check your location and confirm your orientation.
-
Match terrain features such as ridges, valleys, or streams with their symbols on the map.
-
Use your compass to ensure your direction aligns with your planned path.
Over time, this combination of study and practice will train your instincts. You’ll begin to sense shifts in elevation, recognize trail markers, and anticipate junctions based on map details. Ultimately, repeated exposure and hands-on experience are what transform a printed map into a dynamic tool that helps you move through nature with confidence. That’s the essence of mastering how to read a hiking trail map.
>> Read More: 7+ Hiking Safety Tips for Beginners: How to Best Prepare
Conclusion
Understanding how to read a hiking trail map is an indispensable skill for hikers of all experience levels. From interpreting contour lines to identifying key landscape features, each component plays a vital role in safe and efficient navigation. With consistent practice and attention to detail, you can transform your outdoor adventures into well-guided, stress-free experiences. So grab your map, lace up your boots, and head out with confidence, because every great hike begins with knowing where you're going.
>> Read More: